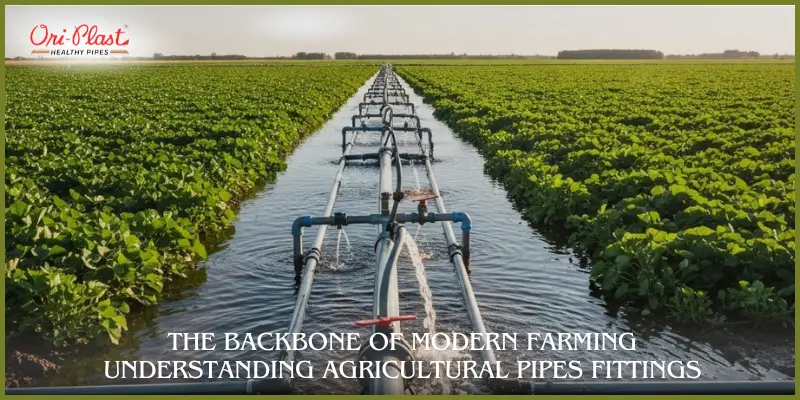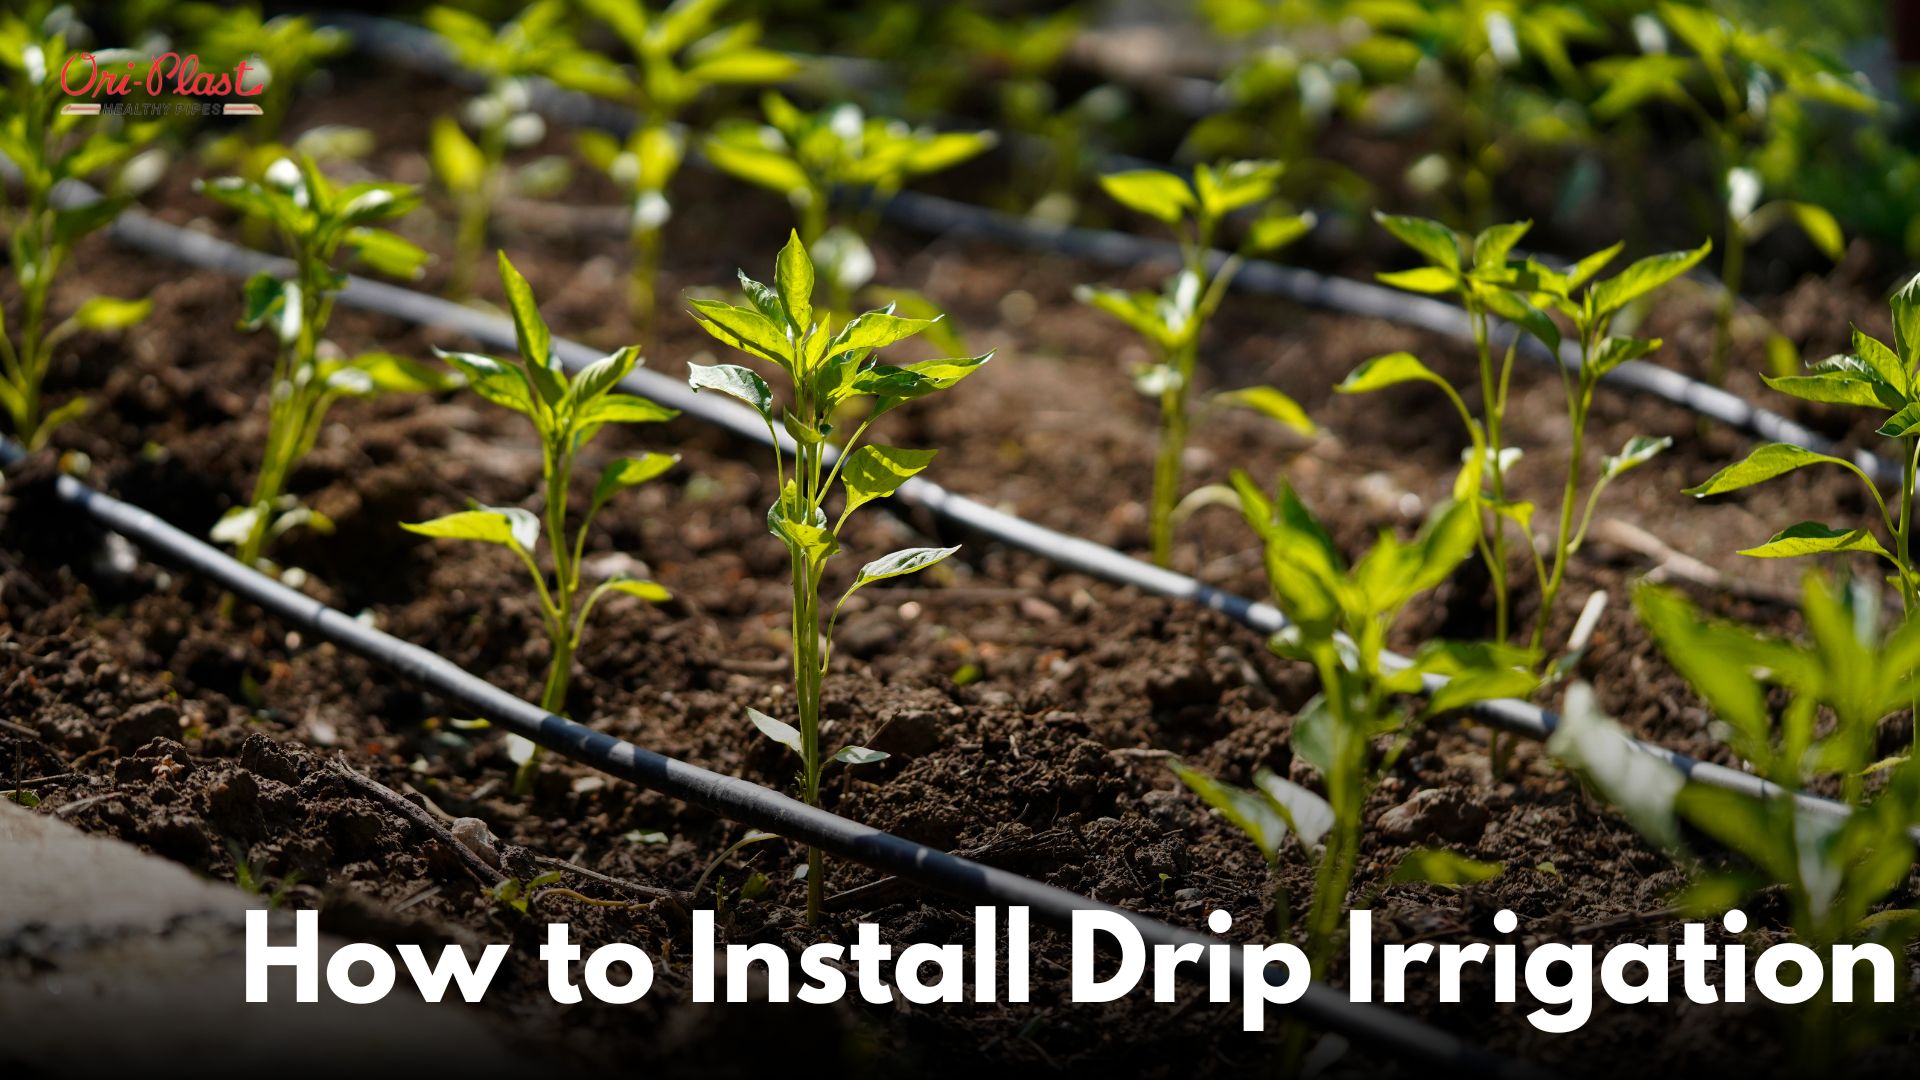
Drip irrigation is one of the most efficient ways to water your plants. It delivers water directly to the roots, minimizing waste and ensuring your plants get the moisture they need. If you’re looking to install a drip irrigation system, follow this guide to make the process easy and effective.
What Do You Need to Install a Drip Irrigation System?
Before you start, gather all the necessary materials. Here’s a list of what you'll typically need:
- Drip tubing (1/2 inch mainline tubing and 1/4 inch drip tubing)
- Emitters (these control how much water flows out to each plant)
- Fittings (tees, elbows, and connectors to run the tubing around your garden)
- Filter (to prevent debris from clogging the system)
- Pressure regulator (to control water pressure, as drip systems operate at lower pressures)
- Hole punch tool (for making holes in the tubing)
- End caps (to close the ends of the tubing)
- Timer (optional, but helpful for automating your system)
Once you’ve gathered your supplies, you're ready to get started.
Step 1: Plan Your Layout
The first thing to do is plan the layout of your drip irrigation system. Walk around your garden and decide where the mainline tubing will run and which plants need drip emitters. Keep these key points in mind:
- Mainline tubing: This is the backbone of your system. It will run from your water source to the different areas where your plants are located.
- Emitters: Each plant will need its own emitter, so mark the spots where you'll install them.
- Tubing runs: Decide whether you'll run 1/4 inch tubing from the mainline directly to each plant or use inline emitters placed along the 1/2 inch tubing.
Draw a simple map or sketch to visualize your layout before starting. This will help you avoid mistakes and optimize the water delivery.
Step 2: Set Up the Water Source
Start by connecting your system to the water source. Here's how to do it:
- Attach the filter to the faucet to prevent debris from clogging the emitters.
- Install the pressure regulator next to reduce the water pressure, since drip systems usually require a pressure of 20-30 PSI.
- Add a timer to automate watering. This step is optional, but it helps ensure your plants get consistent watering, even if you're not home.
Once the water source is prepared, you're ready to run the mainline tubing.
Step 3: Lay the Mainline Tubing
Unroll your 1/2 inch mainline tubing and lay it along the path you planned in Step 1. If the tubing is stiff, leave it in the sun for a while to soften, making it easier to handle.
- Connect the tubing to the water source: Attach one end of the mainline tubing to the filter and pressure regulator.
- Secure the tubing: Use stakes or clamps to secure the tubing along the ground, especially around curves or corners.
- Cut the tubing: Use a utility knife or tubing cutter to cut the tubing to the appropriate lengths as needed. If you need to branch off in multiple directions, use tee fittings.
Step 4: Add the Emitters and Fittings
Once your mainline tubing is in place, it’s time to install the emitters and fittings.
- Punch holes in the mainline tubing using a hole punch tool where you want to add the emitters or 1/4 inch tubing.
- Insert the fittings: If you're using 1/4 inch drip tubing to bring water directly to plants, insert a barbed fitting into the punched hole, then connect the 1/4 inch tubing to it.
- Install the emitters: Add emitters at the ends of the 1/4 inch tubing or directly into the 1/2 inch mainline tubing, depending on your system's design. Place the emitters near the roots of each plant for efficient watering.
Step 5: Cap the Ends
Once you’ve run the tubing to all the plants, don’t forget to cap off the ends of both the 1/2 inch and 1/4 inch tubing. Use end caps or figure-eight clamps to close off the tubing to prevent water from escaping.
Step 6: Test the System
With everything in place, it’s time to test your drip irrigation system.
- Turn on the water and check for leaks or areas where water isn't flowing properly.
- Adjust emitters if necessary. Emitters come with different flow rates, so make sure each plant gets the right amount of water.
- Check pressure: Ensure that water pressure is consistent and not too high, as it could damage the system.
Step 7: Set a Watering Schedule
If you’ve installed a timer, set it to water your plants at optimal times, such as early morning or late afternoon. Drip irrigation systems use water efficiently, so you may not need to run the system as long as traditional sprinklers. Start with short durations and adjust as needed based on the weather and your plants’ needs.
Maintenance Tips
Once your drip irrigation system is up and running, it’s fairly low-maintenance. However, there are a few things you should do to keep it running smoothly:
- Check for clogs: Periodically inspect the emitters and tubing for clogs caused by dirt or debris.
- Clean the filter: Clean the filter regularly to prevent buildup that could block the system.
- Adjust the emitters: As your plants grow, you might need to reposition or add more emitters to ensure they continue getting adequate water.
Why Choose Drip Irrigation?
Drip irrigation is an excellent choice for gardens, lawns, and even potted plants. Here’s why:
- Water efficiency: Drip irrigation uses less water by targeting the roots directly, reducing evaporation and runoff.
- Improved plant health: By delivering water where it's needed, drip systems encourage deeper root growth and healthier plants.
- Convenience: With a timer, your system can automatically water your garden, saving you time and effort.
- Reduced weed growth: Because water is applied directly to the plants, there’s less moisture for weeds to thrive.
Conclusion
Installing a drip irrigation system might seem complicated at first, but once you have the right materials and follow a step-by-step approach, it’s quite manageable. Not only does it save water, but it also promotes healthier plants with less effort. So, whether you’re a seasoned gardener or a beginner, drip irrigation can be a great addition to your outdoor space.