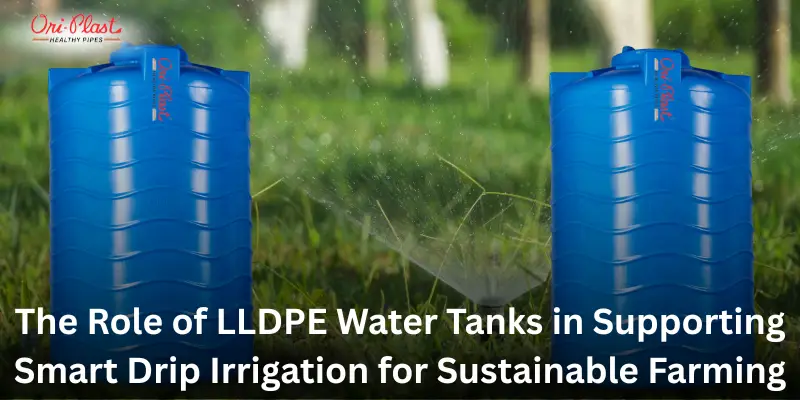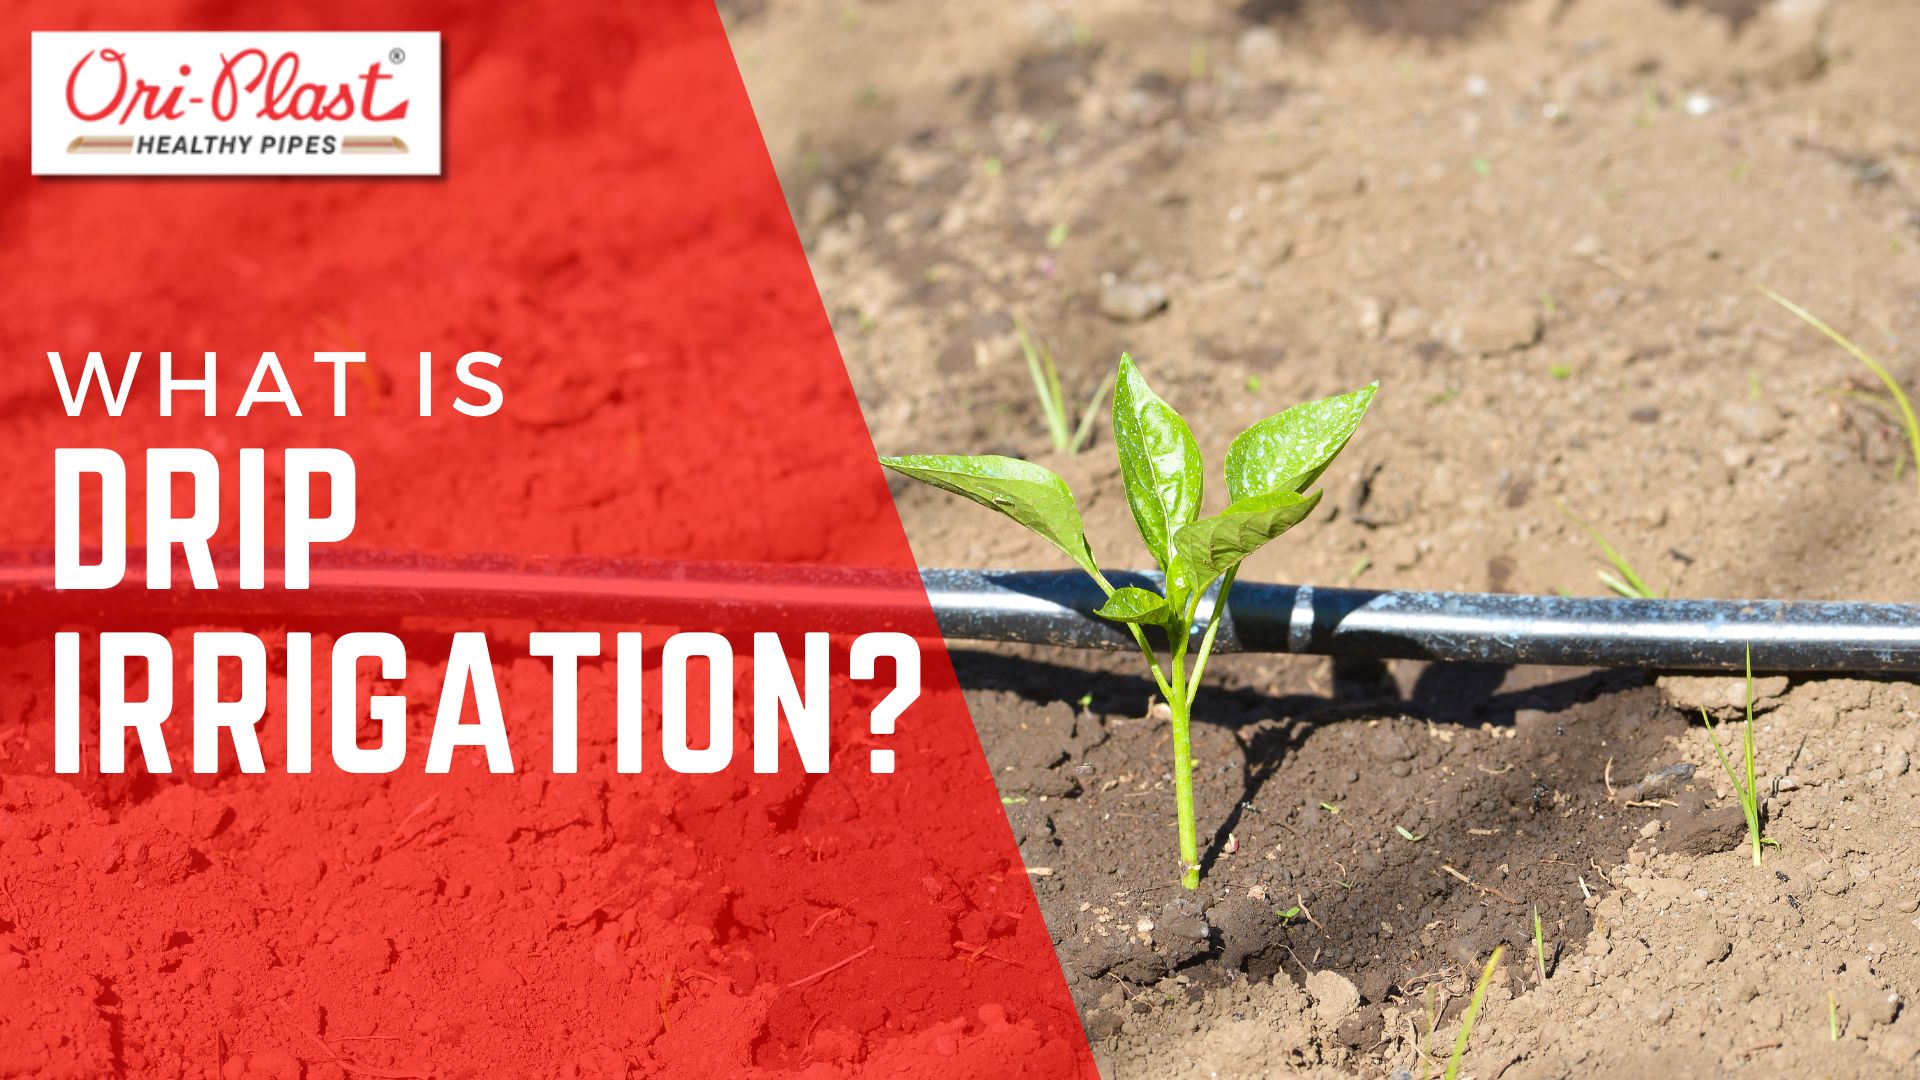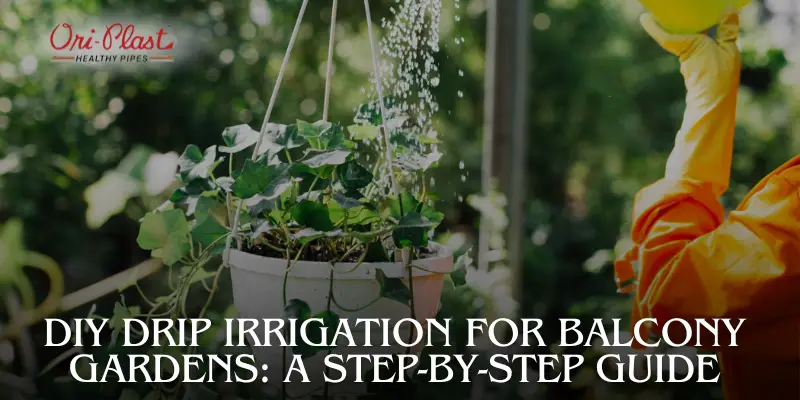
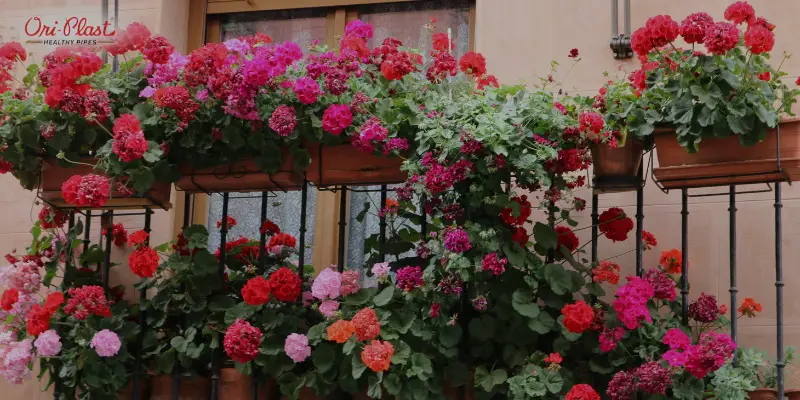
Why Use Drip Irrigation for Balcony Gardening?
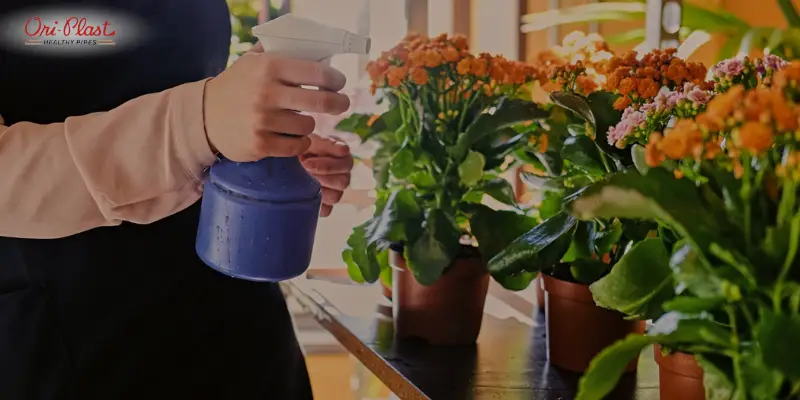
 Compared to traditional hand-watering methods, drip irrigation for balcony gardens offers more control and better results. Here are a few key benefits:
 - Water efficiency: It reduces wastage by targeting only the plant roots.
- Consistent hydration: Maintains even moisture levels in the soil.
- Time-saving: Automates your watering routine with a timer.
- Compact system: Ideal for small balcony spaces and container gardening.
- Healthy plants: Promotes deep root growth and reduces disease risk.
What You Need to Get Started
You don’t need fancy equipment to build a basic system. Here’s a list of materials required to set up drip irrigation for a balcony garden:- Mainline tubing (½ or ¼ inch) – Acts as the water supply line.
- Micro tubing – Distributes water to individual pots.
- Drippers or emitters – Control water output per plant.
- Connectors (T-joints, elbows) – Direct water flow where needed.
- End caps or clamps – Seal the tubing ends.
- Filter and pressure regulator – Keep water clean and flow steady.
- Water timer (optional) – For automated watering.
- Hole punch and stakes – For setting up the system.
Step-by-Step Setup Guide
Step 1: Plan Your Layout
Begin by identifying where your plants are located on the balcony. Create a simple sketch to map out where you’ll lay the tubing and how it will reach each pot. This is especially helpful for balconies with a lot of plants in tight spaces. Planning is essential for an effective drip irrigation for balcony setup. It ensures you use the right materials and makes installation much easier.Step 2: Lay the Main Tubing
Cut the mainline tubing according to your balcony’s size and secure it along the wall, railing, or floor using clips or ties. This tube is the backbone of your drip irrigation for balcony garden, supplying water to each plant. Keep the tubing close enough to your pots to allow easy connection to the micro tubes.Step 3: Connect Micro Tubes
Use a punch tool to make holes in the main tubing, and insert connectors into each hole. Attach micro tubing to these connectors and run them to each plant pot. Use small stakes or clips to secure the micro tubes so they stay in place and don’t move during watering.Step 4: Install Drippers
At the end of each microtube, attach a dripper or emitter. These devices regulate the amount of water delivered to each plant. Choose between:- Fixed-flow drippers: Provide a set amount of water per hour.
- Adjustable drippers: Allow custom flow control for different plant types.
Step 5: Seal the Tubing Ends
Cap the open ends of the tubing with end plugs or clamps to maintain pressure and prevent leaks. Before sealing, briefly run water through the system to flush out any dirt or debris. This step is vital to ensure your balcony drip irrigation system runs smoothly and doesn’t waste water.Step 6: Connect to a Water Source
Connect your tubing system to a water tap using the following components:- Filter – Keeps dirt out of the system.
- Pressure regulator – Maintains optimal water pressure.
- Timer (optional) – Automates watering times.
Tips to Improve Your Drip Irrigation System
- Group plants by water needs: This helps you adjust flow rates more efficiently.
- Use a timer: Automating your drip irrigation for balcony gardens saves time and water.
- Regular maintenance: Check for clogs, especially in emitters and filters.
- Seasonal adjustments: Water more frequently in hot months and less during cool periods.
Ideal Plants for Drip Irrigation on Balconies
Some plants benefit greatly from consistent watering. Here are a few great options for your balcony drip irrigation setup:- Herbs: Basil, oregano, parsley, thyme.
- Leafy greens: Spinach, lettuce, arugula.
- Vegetables: Cherry tomatoes, peppers, beans.
- Flowers: Petunias, marigolds, impatiens.
Maintenance and Troubleshooting
While drip systems are low maintenance, they’re not completely hands-off. Here’s how to keep yours working well:- Clean emitters regularly to prevent clogs.
- Inspect tubing for leaks or cracks.
- Flush the system every few weeks.
- Check water flow from time to time, especially in summer.
Conclusion
Setting up drip irrigation for balcony gardening is one of the best ways to simplify plant care while improving plant health. It saves time, reduces water usage, and ensures each plant gets the right amount of hydration. With some basic tools and a bit of effort, you can create a reliable watering system tailored to your balcony layout. Whether you're growing herbs, flowers, or vegetables, a DIY drip irrigation for balcony garden offers a sustainable, smart solution. Once installed, you’ll enjoy more free time and a flourishing garden space—even in the heart of the city.FAQs: Drip Irrigation for Balcony Gardening
1. What is drip irrigation for balcony gardens?
Drip irrigation for balcony gardens is a method of watering plants using a network of tubes and emitters that deliver water directly to the roots. It’s ideal for conserving water and ensuring consistent hydration in small balcony spaces.
2. Is drip irrigation suitable for small balconies?
Yes, drip irrigation is perfect for small balconies. The system is compact and customizable, making it easy to install around plant containers without taking up much space.
3. What type of plants benefit most from drip irrigation on a balcony?
Herbs, leafy greens, vegetables like tomatoes and peppers, and flowering plants like petunias and marigolds thrive with consistent moisture provided by a drip irrigation system.
4. Can I install a drip irrigation system on my balcony by myself?
Absolutely. DIY drip irrigation for balcony gardening requires only basic tools and materials, and it can be set up in a few simple steps, even by beginners.
5. How often should I water plants using drip irrigation?
The frequency depends on the season, plant type, and system setup. During hot months, daily watering may be needed, while cooler months require less frequent watering. A timer can automate the process for convenience.
6. Will a drip irrigation system waste water if I’m not home?
No. Drip irrigation is designed to minimize water waste by delivering water slowly and directly to the roots. Using a timer ensures precise control even when you're away.
7. How do I prevent clogging in the drip irrigation system?
Regularly clean or flush the system and use a filter to prevent dirt or particles from entering the tubes and emitters.
8. What size tubing is best for a balcony drip irrigation system?
¼-inch tubing is typically used for connecting individual pots, while ½-inch tubing can serve as the main water supply line across your balcony layout.
9. Can I expand my drip irrigation for a balcony garden in the future?
Yes, drip systems are flexible and can be expanded by adding more tubing, emitters, or connectors as your garden grows.
10. Is a water timer necessary for drip irrigation systems on balconies?
While not required, a timer adds convenience by automating watering schedules, which is especially useful for busy lifestyles or when traveling.