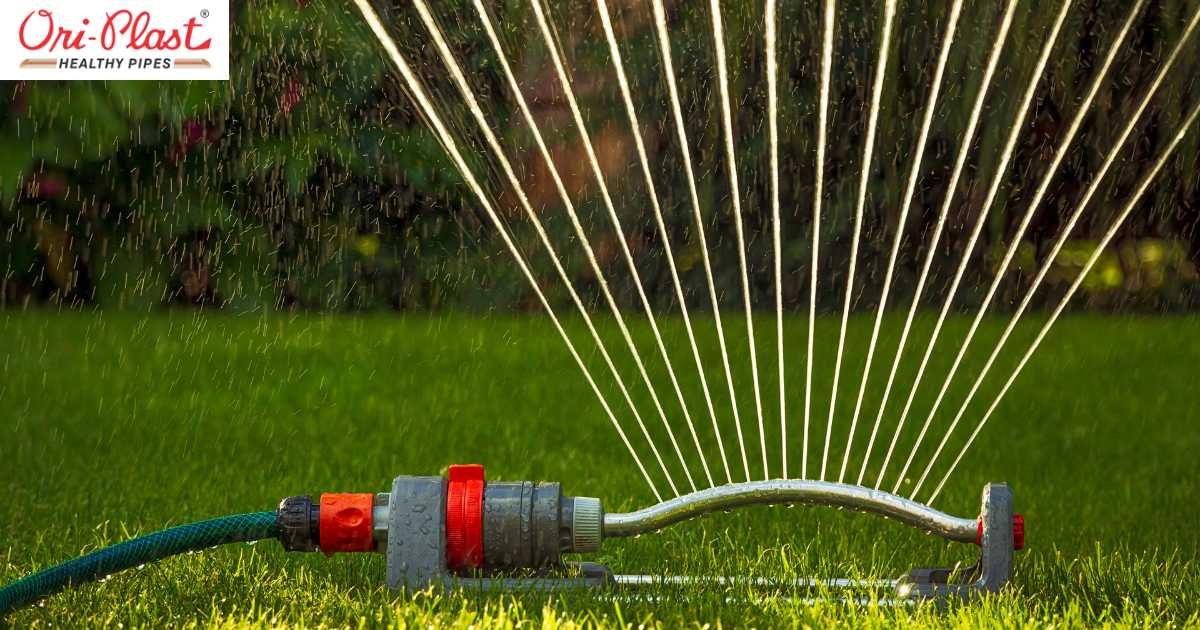
Creating a PVC pipe sprinkler system for your lawn is a cost-effective and DIY-friendly way to keep your garden green and healthy. Here's a step-by-step guide on how to make your own PVC pipe sprinkler system:
Materials You'll Need:
- PVC pipes (¾-inch or 1-inch diameter)
- PVC pipe fittings (tees, elbows, and couplings)
- PVC cement
- Threaded hose bib (faucet) adapter
- Hose bib
- Hose (length depends on your setup)
- Pipe strap or stakes
- Teflon tape
- Drill
- Hacksaw or PVC pipe cutter
- Measuring tape
Step-by-Step Instructions:
Plan Your Layout:
Measure your lawn area and determine where you want to place your sprinkler heads. Consider the water flow and coverage area needed.
Cut the PVC Pipes:
Using a hacksaw or PVC pipe cutter, cut the PVC pipes into the desired lengths to create the main water supply line and lateral lines that lead to the sprinkler heads.
Assemble the Main Water Supply Line:
Assemble the main water supply line using PVC pipes and fittings. You can use tees and elbows to navigate around obstacles or change directions. Use PVC cement to secure the fittings in place. Ensure the assembly is water-tight.
Install a Faucet Adapter:
Install a threaded hose bib adapter onto an outdoor faucet or hose bib. Apply Teflon tape to the threads for a secure seal.
Connect the Main Line:
Connect the main line to the hose bib adapter. Use PVC cement to secure the connection.
Lay the Lateral Lines:
Extend lateral lines from the main water supply line to the areas where you want sprinkler heads. Use couplings, tees, and elbows to create the layout you planned.
Install Sprinkler Heads:
At the ends of the lateral lines, install your chosen sprinkler heads. These can be stationary or rotating heads, depending on your needs. Follow the manufacturer's instructions for installation.
Secure the Pipes:
Use pipe straps or stakes to secure the PVC pipes to the ground. This prevents the pipes from shifting or moving while in use.
Test the System:
Turn on the water supply and test the system to ensure the sprinklers cover the desired areas and that there are no leaks in the pipes or fittings.
Adjust the Sprinkler Heads:
Adjust the angle and range of the sprinkler heads as needed to achieve proper coverage and avoid watering non-target areas like sidewalks or buildings.
Automate Your System (Optional):
For added convenience, consider installing an irrigation timer or controller that automates the watering schedule. This ensures your lawn is consistently watered even when you're not around.
Monitor and Maintain:
Regularly check your PVC pipe sprinkler system for clogs, leaks, or other issues. Clean or replace sprinkler heads as needed, and make any necessary repairs.
Creating a PVC pipe sprinkler system for your lawn is a manageable DIY project that can save you money on water bills and help maintain a lush and healthy garden. With proper planning and installation, you can enjoy the benefits of an efficient and customizable lawn irrigation system.