Maintaining a thriving garden requires a consistent and reliable irrigation system. Building a PVC pipe irrigation system is an excellent DIY project that can help you efficiently water your garden while conserving water and saving money. In this detailed guide, we will walk you through the steps to create a PVC pipe irrigation system for your garden.
Materials You'll Need:
- PVC pipes (½-inch or ¾-inch diameter)
- PVC pipe fittings (tees, elbows, and couplings)
- PVC cement
- Hose bib (outdoor faucet)
- Hose (length depends on your setup)
- Hose clamps
- Teflon tape
- Drill
- Hacksaw or PVC pipe cutter
- Measuring tape
- Ground stakes or pipe straps
- Timer (optional)
Step-by-Step Instructions:
1. Plan Your Garden Layout:
- First, assess your garden and determine where you want to place your irrigation lines. Consider the types of plants, their water requirements, and the coverage area you need. Sketch a rough layout of your garden to guide your irrigation system design.
2. Calculate PVC Pipe Lengths:
- Measure the distance between the hose bib (outdoor faucet) and the locations where you want to place your irrigation lines. These measurements will determine the lengths of your PVC pipes.
3. Cut PVC Pipes:
- Using a hacksaw or PVC pipe cutter, cut the PVC pipes into the appropriate lengths. These pipes will serve as your irrigation lines.
4. Assemble the Main Water Supply Line:
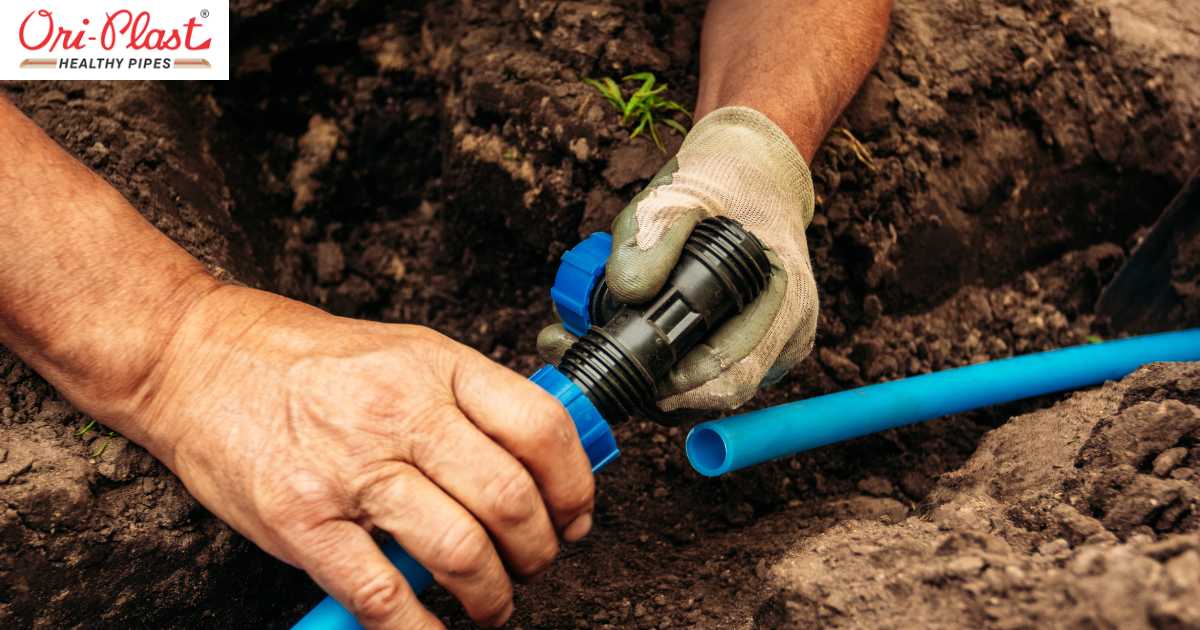
- Begin by assembling the main water supply line. Use PVC tees and elbows as needed to navigate around obstacles or change directions. Apply PVC cement to secure the fittings and ensure a watertight seal.
5. Install a Hose Bib Adapter:
- Attach a hose bib adapter to your outdoor faucet or hose bib. Apply Teflon tape to the threads for a secure connection.
6. Connect the Main Line:
- Connect the main water supply line to the hose bib adapter using PVC cement. Ensure the connection is tight and leak-free.
7. Lay the Irrigation Lines:
- Extend the PVC irrigation lines from the main water supply line to the locations where you want to water your plants. Use couplings, tees, and elbows to create the layout you planned.
8. Install Irrigation Emitters:
- At the ends of the irrigation lines, install the irrigation emitters. The type of emitter you choose will depend on your specific watering needs. Drip emitters, soaker hoses, or misters are common options. Follow the manufacturer's instructions for installation.
9. Secure the Pipes:
- Use ground stakes or pipe straps to secure the PVC pipes to the ground. This will prevent the pipes from shifting or moving during watering.
10. Test the System:
- Turn on the water supply and run the irrigation system. Check for any leaks in the pipes or fittings, and ensure that the emitters effectively water your plants. Make adjustments to the emitter flow or placement if necessary.
11. Automate Your System (Optional):
- For convenience, consider installing an irrigation timer or controller that automates the watering schedule. This can be particularly useful if you have a large or complex garden.
12. Monitor and Maintain:
- Regularly inspect your PVC pipe irrigation system. Clean or replace emitters, clear clogs, and make any necessary repairs. Adjust the watering schedule to accommodate changing weather conditions and the growth of your plants.
Building a PVC pipe irrigation system for your garden is a rewarding DIY project that can help you maintain a lush and healthy garden while conserving water and reducing your water bills. By following these steps and customizing the system to your garden's specific needs, you can enjoy the benefits of a well-designed and efficient irrigation system.