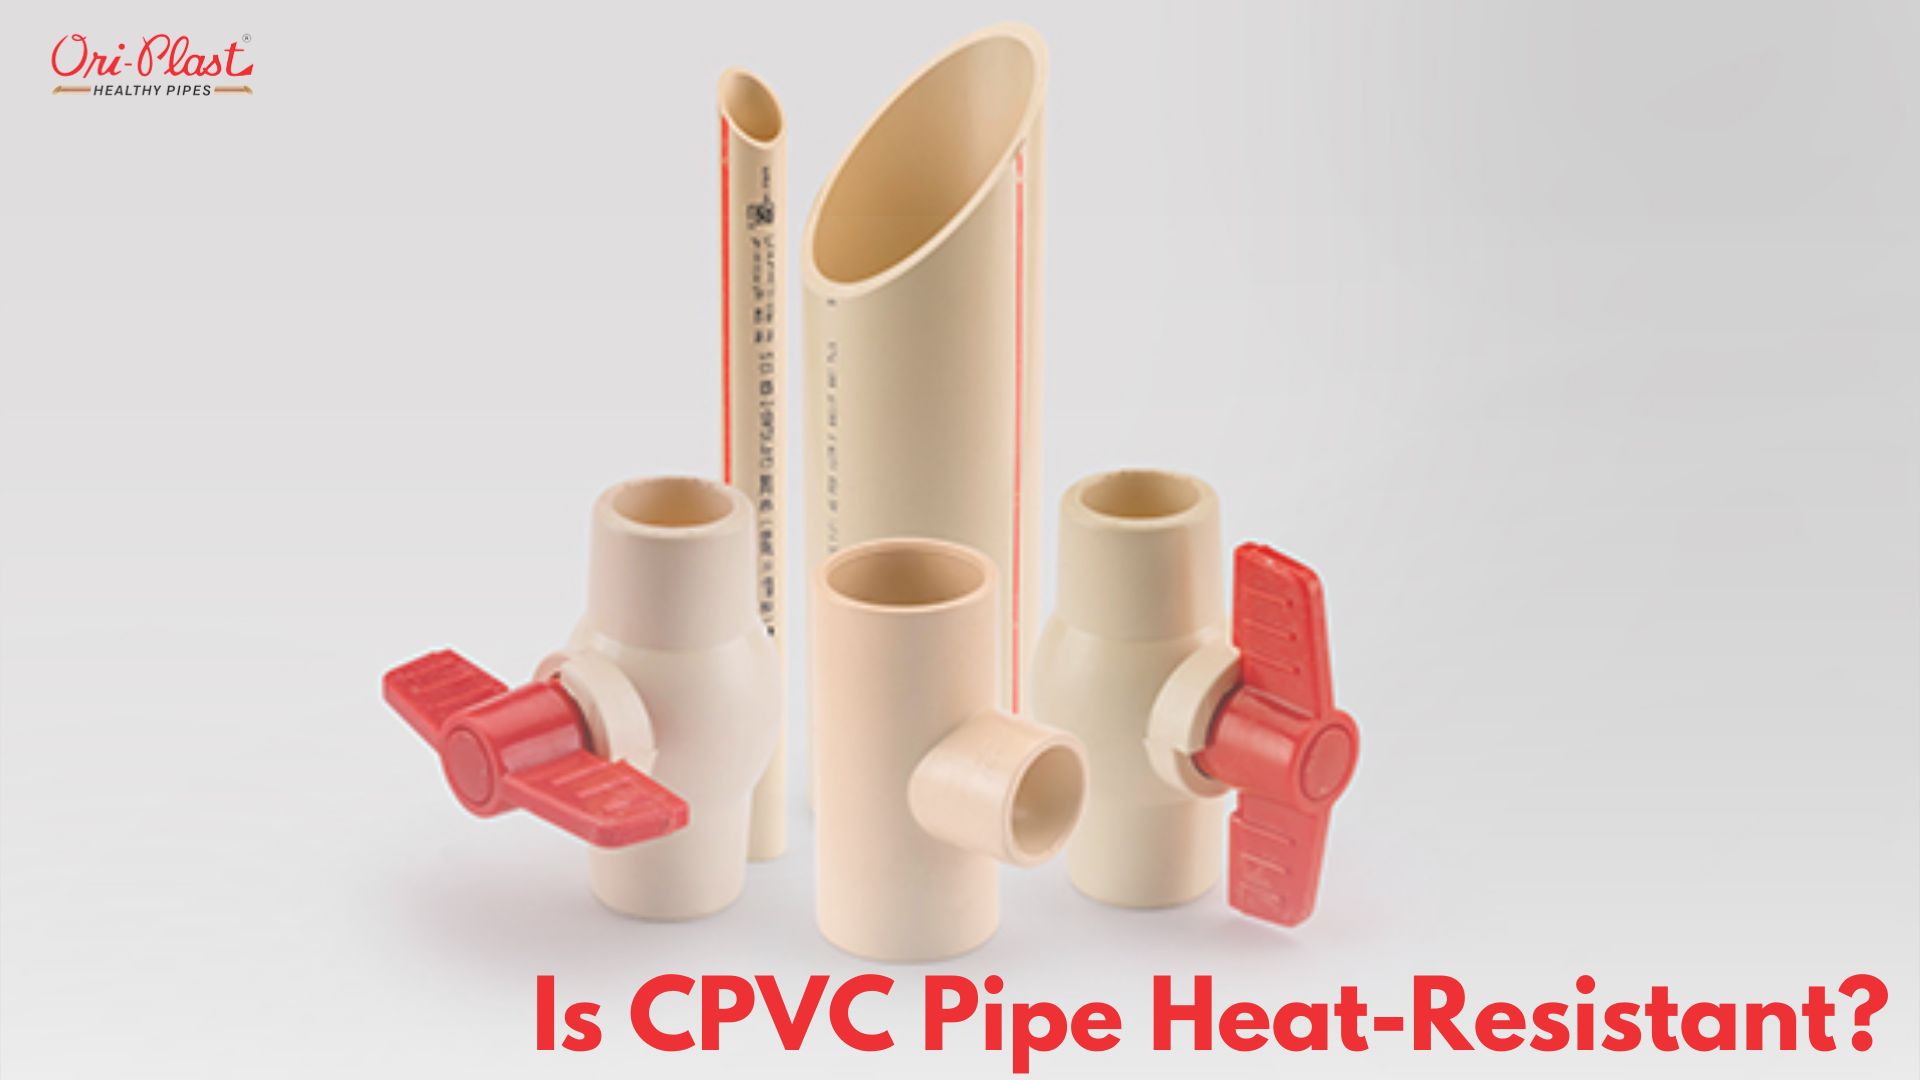
CPVC (chlorinated polyvinyl chloride) pipes have become a popular choice for plumbers and DIYers due to their corrosion resistance, cost savings, and easy installation. If you're looking to upgrade your water lines or replace old pipes, learning how to install CPVC correctly is key to creating a reliable system. Follow this guide to install CPVC pipes in your home like an expert.
Planning the Layout
The first step when taking on any new plumbing project is planning. Map out where you want to run the CPVC lines and measure the required lengths. Ensure you have enough room to make clean cuts and proper connections. If installing in tight spaces like under sinks or in crawl spaces, allow extra working room. Consider using elbow joints over sharp 90-degree cuts when turning corners.
Preparing the Pipes and Fittings
Before assembling, inspect and clean all CPVC pipes and fittings. Look for any defects, debris, or cracks. Lightly sanding the ends will also improve adhesion. Dry all pieces completely, as CPVC cement won't bond well to damp surfaces. Having the right primer and solvent cement is also critical - they must be formulated for bonding CPVC.
Cutting the Pipe
A miter box and fine-toothed CPVC cutter are essential for straight, burr-free cuts. Mark your measurements, securing the pipe firmly in the miter box. Score all around the pipe with a cutter in one continuous stroke applying firm pressure. Avoid over-cutting too deep or sawing back and forth. After scoring, bend the pipe slightly to snap cleanly along the cut line.
Deburring and Beveling
Use a pocket knife or metal deburring tool to remove any ridges or rough edges from pipe ends. This prevents gouging the fittings when inserted. Then chamfer the outer edge by lightly filing at a 30-45 degree angle. This flare will allow the fitting to slide over easier. Avoid over-beveling too far down the small diameter.
Applying Solvent Cements
The primer helps soften and prep the surfaces, while the solvent cement fuses them together. Use a small dauber applicator, applying a thin coat of purple primer into the pipe's inner socket and fitting end. Then quickly apply gray CPVC cement the same way. Assemble parts immediately while wet, twisting lightly to distribute cement evenly. Hold 30 seconds to set. Excess cement can be wiped with a clean rag.
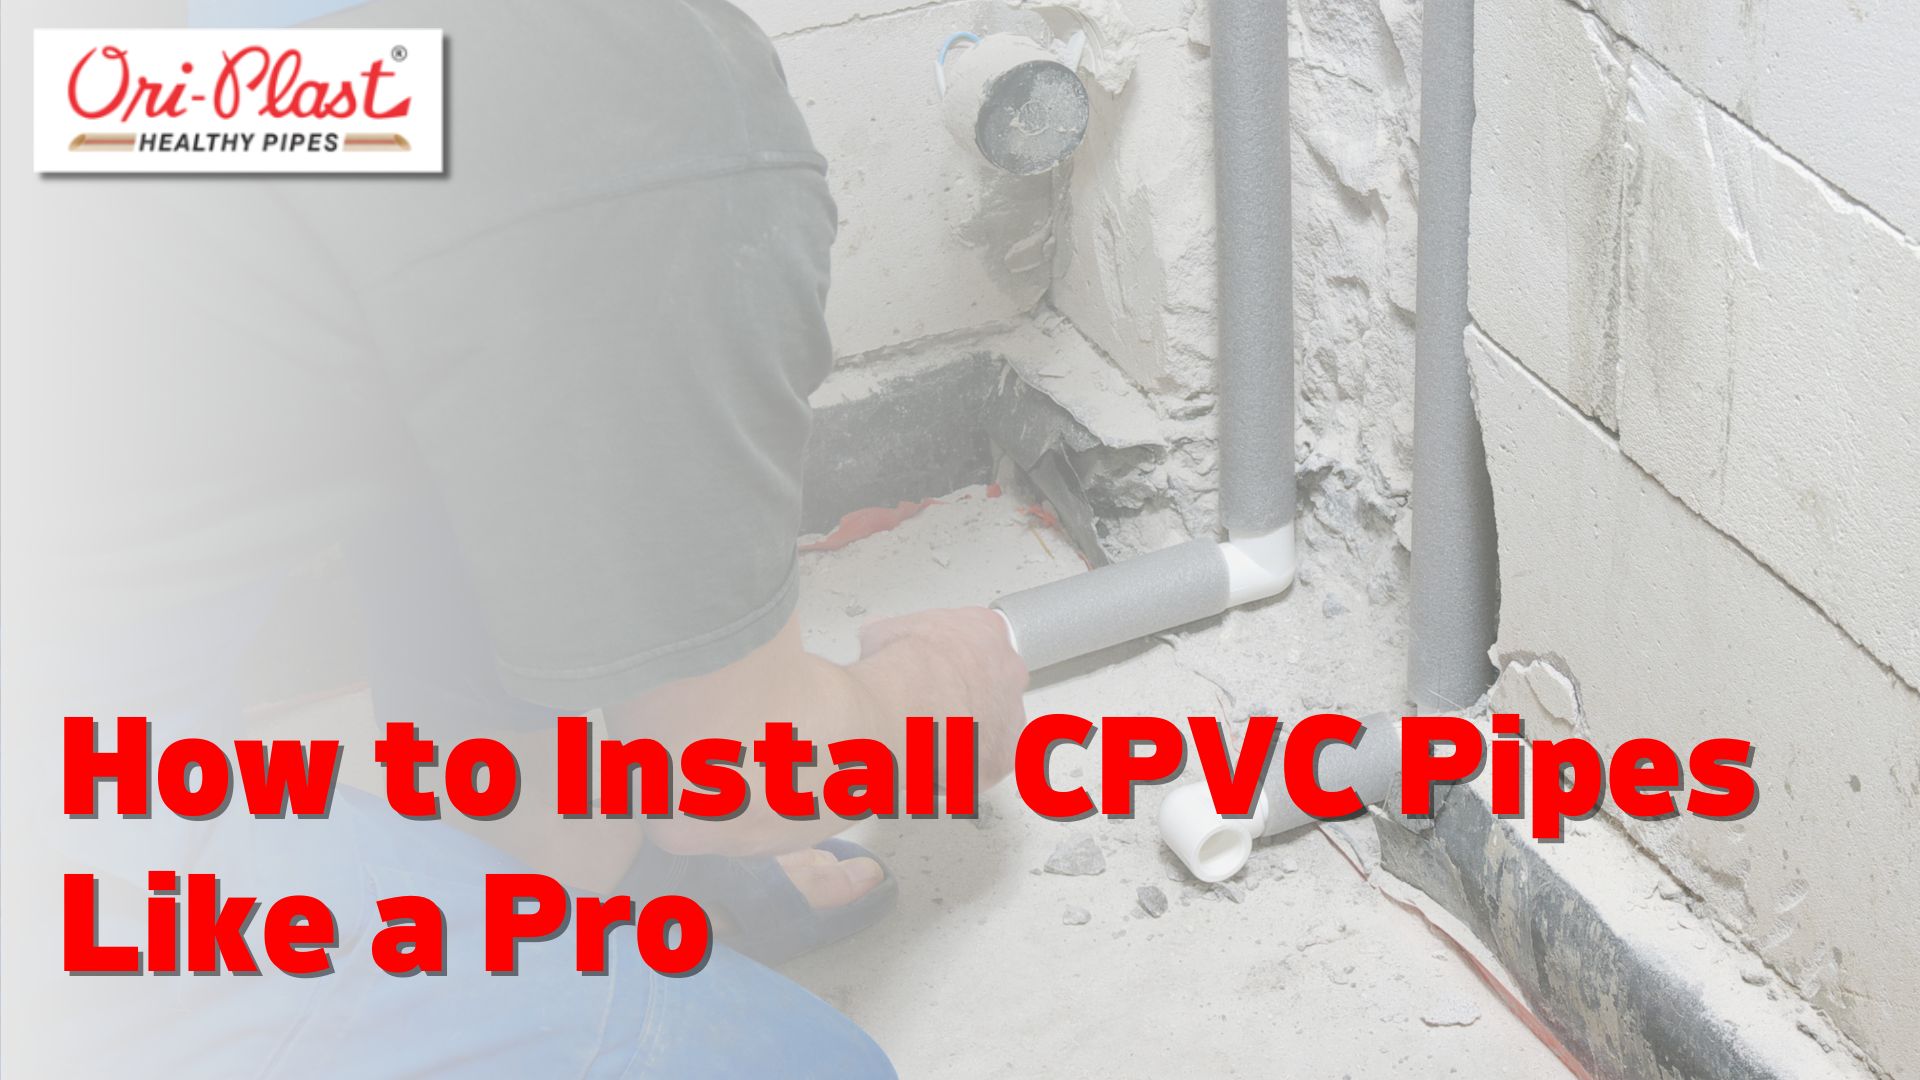
Supporting the Pipe
Proper pipe support is also critical for professional results and inspection. CPVC should be secured at least every 3 feet for horizontal runs or base of vertical lengths. Use clamps lined with rubber or vinyl protectors to prevent bruising. Space clamps no wider than 18 inches for 1/2 inch pipe, or 36 inches for 3/4 inch or larger. Allowing pipes to flex will risk future leaks.
Pressure Testing
Before completing project walls or ceilings, always pressure test new CPVC systems. Slowly pressurize the lines to monitor for any leaks, sealing them with additional cement if found. Consider leaving key system areas accessible rather than burying lines. Also confirm local plumbing codes which may require inspector approval.
Following this guide will ensure safe, long-lasting CPVC installations. Take things slow, prepping correctly before permanently bonding pipes and fittings. With some practice, you’ll find CPVC systems easy to work with using basic hand tools. Just as reliable as copper, at a fraction of the cost, CPVC is the ideal choice for do-it-yourselfers.