A clean water tank at home is essential for maintaining good health. One way to ensure that the water we drink is free of harmful contaminants is by storing it in water tanks.
However, over time, these tanks can become dirty and contaminated with bacteria, algae, and other harmful substances.
Therefore, it is crucial to regularly clean the water tank and maintain it to ensure that the water remains safe and healthy to drink.
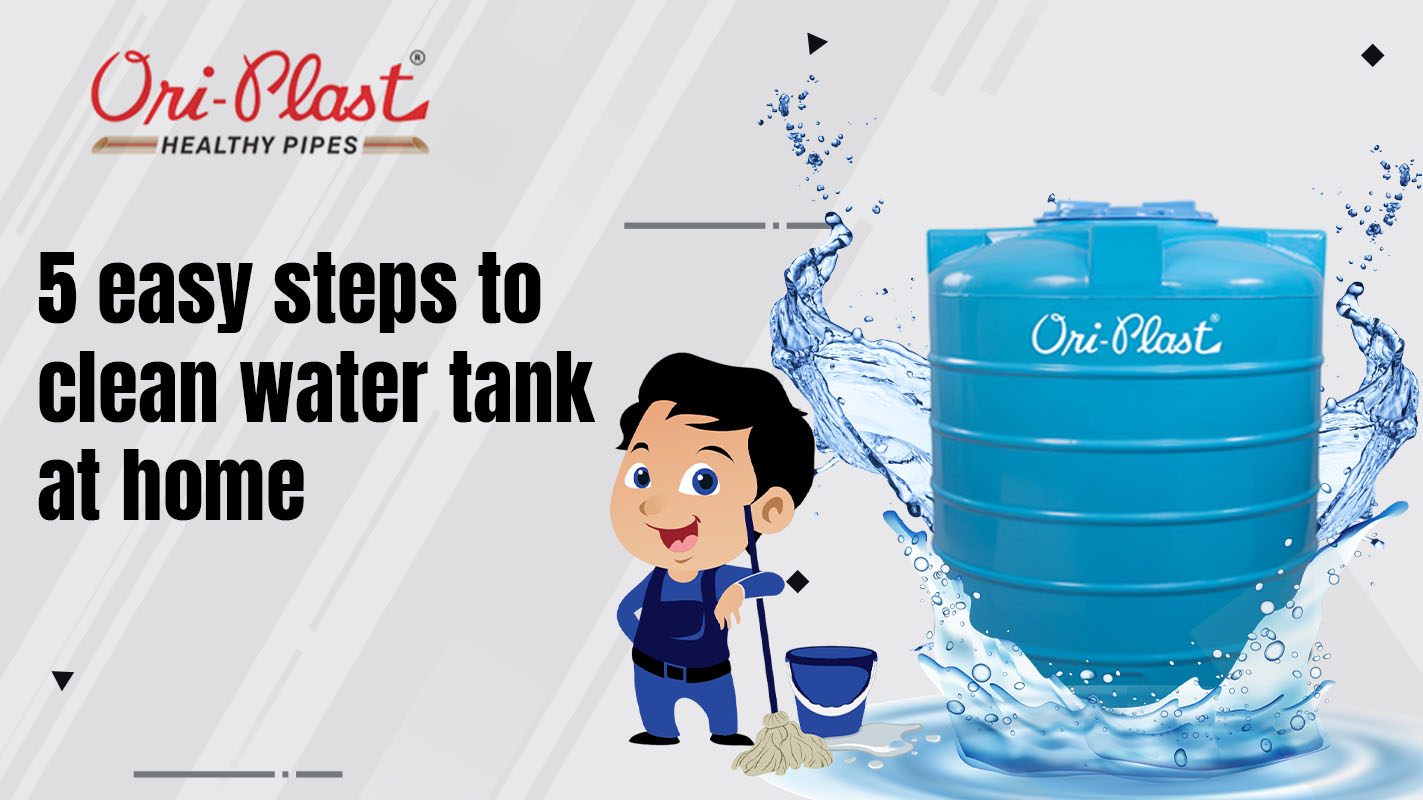
5 easy steps to clean water tanks at home:
Empty the tank
Scrub the tank
Rinse the tank
Treat the water
Refill the tank
we will discuss the importance of a clean water tank and provide five easy steps to a clean water tank at home.
By following these steps, you can help ensure that you have a clean water tank that is free from harmful contaminants and safe to drink.
So, let's dive in and learn how to keep our water tanks clean and healthy.
Step 1: Emptying the tank
Emptying the water tank is the first step to ensure a thorough cleaning. This step is important to ensure that all the debris and contaminants are removed from the tank. Here's why emptying the tank is important:
Explanation of the importance of emptying the tank:
- Draining the water from the tank allows you to see the inside clearly, and identify any visible contaminants.
- This step helps remove any sediments or debris that have settled at the bottom of the tank.
- Emptying the tank completely ensures that the cleaning process is thorough and effective.
Instructions on how to empty the tank:
- Turn off the water supply to the tank and ensure that no water enters the tank.
- Open the valve at the bottom of the tank and let the water flow out.
- Use a high-pressure hose to help drain the tank faster.
- Check the outlet pipes to ensure they are clean and free from blockages.
Safety precautions to take while emptying the tank:
- Ensure that there are no electrical connections near the tank while it is being emptied.
- Wear rubber gloves to prevent any contamination from the water.
- Be careful not to slip or fall while emptying the tank as the surface can be slippery.
- Make sure to drain the water away from the house or any water sources to avoid contamination.
By following these instructions and safety precautions, you can safely and effectively empty your water tank before moving on to the next step of cleaning it.
Step 2: Scrubbing the tank
Scrubbing the tank is an important step in the cleaning process. This step is necessary to remove any dirt, debris, or algae that may have accumulated on the walls and bottom of the tank. Here's why scrubbing the tank is necessary:
Why scrubbing the tank is necessary:
Scrubbing the tank helps remove any visible contaminants that may be present in the tank.
This step ensures that the surface of the tank is thoroughly cleaned and free of any debris or dirt that may have settled at the bottom.
Scrubbing the tank also helps to remove any bacteria or algae that may be growing on the walls of the tank.
Instructions on how to scrub the tank:
- Use a stiff-bristled brush to scrub the walls and bottom of the tank thoroughly.
- Pay special attention to the corners and hard-to-reach areas.
- Use a ladder to access the top of the tank if necessary.
- Make sure to remove any visible dirt, debris, or algae from the tank.
Recommended tools for scrubbing the tank:
- Use a long-handled brush with stiff bristles to scrub the walls and bottom of the tank.
- You can also use a high-pressure washer to help remove any stubborn dirt or debris.
- Wear rubber gloves and protective clothing while scrubbing the tank to prevent any contamination.
By following these instructions and using the recommended tools, you can effectively scrub your water tank and remove any contaminants that may be present.
Step 3: Rinsing the tank
After scrubbing the tank, the next step is to rinse it thoroughly to remove any remaining debris or dirt. This step is essential to ensure that the tank is clean and free of any contaminants. Here's how to rinse the tank:
Use a high-pressure hose to rinse the tank thoroughly:
- Connect a high-pressure hose to the water supply and use it to rinse the walls and bottom of the tank thoroughly.
- Make sure to direct the hose towards the corners and hard-to-reach areas to ensure that all dirt and debris are removed from the tank.
- Use a ladder to access the top of the tank if necessary.
- Continue rinsing the tank until all debris and dirt have been removed.
Make sure all debris and dirt are removed from the tank:
- After rinsing, inspect the tank to ensure that all debris and dirt have been removed.
- Check the outlet pipes to ensure that they are clean and free from blockages.
- Repeat the rinsing process if necessary until the tank is completely clean.
By following these instructions and using a high-pressure hose, you can effectively rinse your water tank and remove any remaining dirt or debris. This step is important to ensure that your water tank is clean and free from contaminants.
Step 4: Treating the water
Treating the water in the tank is an essential step to ensure that the water is safe and free from contaminants. Here's why treating the water is necessary:
Explanation of why treating the water is necessary:
- Even after cleaning and rinsing the tank, there may still be bacteria or other harmful contaminants in the water.
- Treating the water helps to kill any remaining bacteria or other harmful contaminants and makes the water safe to use.
Types of water treatment methods:
- Chlorination: Chlorine is commonly used to disinfect water. It is added to the water in a specific quantity and allowed to sit for a certain period of time to ensure that all bacteria and other harmful contaminants are killed.
- Ultraviolet (UV) Treatment: UV light is used to kill bacteria and other harmful contaminants in the water. The water is passed through a UV chamber, where it is exposed to UV light, which kills all bacteria and other harmful contaminants.
- Ozonation: Ozone gas is used to disinfect the water. The gas is bubbled through the water, which kills all bacteria and other harmful contaminants.
Instructions on how to treat the water:
Choose the method of water treatment that suits your needs.
- Add the appropriate amount of treatment chemicals or equipment to the water as per the instructions.
- Allow the treatment to sit for the recommended amount of time.
- After the treatment period, test the water to ensure that all bacteria and other harmful contaminants have been removed.
By following these instructions and using the appropriate water treatment method, you can ensure that the water in your tank is safe and free from contaminants.
Step 5: Refilling the tank
Once you have treated the water, the final step is to refill the tank. Here's how to refill the tank:
how to refill the tank:
- Close the valve to the outlet pipe.
- Use a hose or bucket to fill the tank with water.
- Once the tank is full, open the valve to the outlet pipe.
Recommended precautions to take while refilling the tank:
- Before refilling the tank, make sure that all of the previous steps have been completed, including cleaning, rinsing, and treating the water.
- Ensure that the water supply used for refilling the tank is clean and safe for drinking.
- Avoid overfilling the tank, as this can cause the water to spill over and create a mess.
how to check the quality of the water after clean water tank:
- After the tank has been refilled, check the quality of the water by testing it for bacteria or other harmful contaminants.
- You can test the water using a water testing kit or by sending a sample to a water testing laboratory.
- It is recommended to test the water periodically to ensure that it remains safe and free from contaminants.
By following these instructions and taking necessary precautions, you can refill your water tank with clean and safe water. Remember to periodically check the quality of the water to ensure that it remains safe for use.
Conclusion
Maintaining a clean water tank is essential for ensuring that the water in your home is safe and free from contaminants. By following these five easy steps, you can clean and treat your water tank at home.
It's important to regularly clean your water tank to ensure that it remains safe and free from contaminants.
Neglecting cleaning of the water tank can lead to a buildup of harmful bacteria and other contaminants that can make you and your family sick. you can check out some good quality water tanks here Oriplast LLDPE Water Tanks.
By following these simple steps and regularly cleaning your water tank, you can ensure that the water in your home remains safe and clean for use.
So, make sure to schedule regular cleaning and maintenance of your water tank to ensure that you and your family have access to clean and safe water.
Continue Reading...